For this exercise I opted to take the required images and then employ the ND grad feature in Lightroom 4 as it is so good and doesn't give the problems with colour casts that I experience with my cokin filters. These tend to give a magenta cast, especially if I use more than 1 in combination. Maybe one day I will push the boat out and invest in some Lee filters. In retrospect, perhaps I should have completed the exercise using the physical features in order to see the subtle difference between wide and narrow apertures. In all cases I bracketed the exposures by 1 1/2 stops either way and when filtering used a 1 stop filter.
Completely overcast day with a featureless sky.
It is suprising how difficult it is to get these conditions when you need them. I grabbed the opportunity and photographed from our loft window rather than going out and having the sky clear on me.
F4 Images
- Images taken with the aperture set at f4 and at the meter reading
 |
| f4 unfiltered |
 |
f4 filtered
|
- Images under exposed by 1 1/2 stops
 |
| Underexposed by 1 1/2 stops and unfiltered |
 |
| Underexposed by 1 1/2 stops and 1 stop ND Grad |
 |
Overexposed by 1 1/2 stops and unfiltered
|
 |
| Overexposed by 1 1/2 stops and 1 stop ND grad applied |
Although the sky appeared to be featureless it can be seen that there is some detail even without filtration although the use of the ND grad does both darken the sky and bring out the cloud detail. Without any other post processing, perhaps the meter reading filtered image is the best but with a 2 stop ND grad the over exposed image would probably be the best.
F22 Images
- Images taken at the meter reading
 |
| unfiltered |
 |
| Filtered |
- Images underexposed by 1 stop
 |
| unfiltered |
 |
| filtered |
- Images overexposed by 1 stop
 |
| unfiltered |
 |
| filtered |
The results here can be seen to be very similar to the images shot at f4. Again the picture that was overexposed slightly seems to be the best and would have been even better with a 2 or 3 stop ND grad. The foreground certainly has a better exposure.
Clouds which show some difference in tones.
I took these shots whilst out walking in the Lincolnshire Wolds on a day of mixed cloud and sun. I waited until the sun was obscured and then took these shots. The clouds showed a great deal of structure.
F4 Images
 |
| unfiltered |
 |
| filtered |
 |
| unfiltered |
 |
| filtered |
 |
| unfiltered |
 |
| filtered |
Of the above images, I prefer the filtered meter reading one, although I think that the one that is slightly overexposed would be the best with heavier filtration.
F22 Images
 |
| unfiltered |
 |
| filtered |
The best image from each situation with post processing.
In both cases I worked on the meter reading image.
 |
| Here I increased the filtration to 3 stops and slightly increased the clarity, vibrance and saturation of the image. I set the white balance to cloudy. |
 |
| Again the filtration was increased to three stops and the clarity, vibrance and saturation increased slightly. |
A few days later we experienced a truly featureless sky and so I repeated this part of the exercise but have only displayed here the meter reading images at f22. It can be seen that when a sky is truly without detail no amount of filtration can help and it only succeeds in darkening the sky.
 |
| unfiltered |
 |
| filtered |
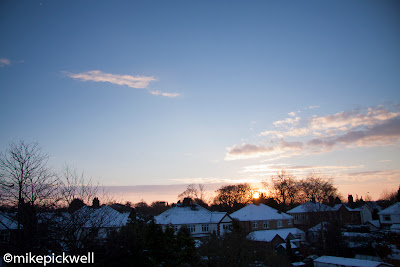
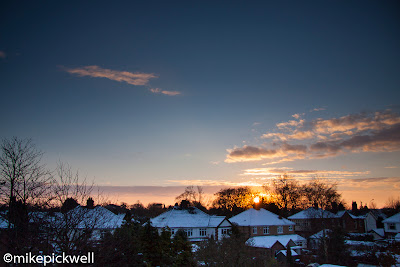
Sunset Images
F4


No comments:
Post a Comment