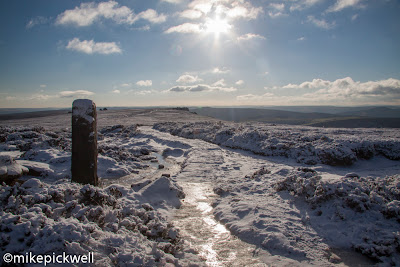
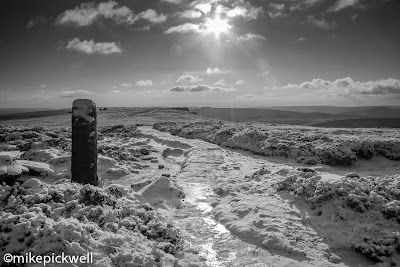
Although this project is optional and designed for the printing of a black and white negative, I decided to try it digitally. I used the colour image below as a starting point. I took the shot in December 2012 whilst out walking in Derbyshire and produced the accompanying Black and White image in Lightroom.
 |
| This is my original starting image with bright highlights in the sun and on the ice on the path in the foreground. |
 |
| First I converted the picture to Black and White. I next used an ND grad to reduce the exposure in the sky by 1.5 and also reduced the highlights further. I also slightly increased the contrast and the clarity. I then used the adjustment brush to reduce the exposure on the ice on the path in the foreground. Finally I adjusted the sliders in the Black and White mix until I achieved a result that I was happy with. |
|
What Have I Learned?
I find that I am slowly gaining expertise in producing Black and White Images through using post processing software.


No comments:
Post a Comment